Happy Fall lovelies! Today is the first day of fall, and let me tell you what…up here in the Mitten state, the weather is ridiculous! We are getting our very, very, hot humid July weather now. It’s just downright miserable (and wrong on so many levels in my opinion). Don’t get me wrong, I LOVE summer…but I also adore fall. And candles. And snuggling up with Joe to a good movie and glass of wine. And sleeping GOOD at night. And leaves falling. The smell of fall just can’t compare to any other season. But, here we are, and here we shall stay for the next week (ugh). So, to welcome in the first day of fall, I thought I would do it all proper-like and share a fall desert with you all (though my mind is saying I need to share a light, refreshing summer something-or-other)…AND something totally and completely new to The Thankful Table!! I have always had this urge/obsession to be crafty, though I am FAR from being any kind of expert. My mind likes to get creative and once in a while I break out that creativity and get down with my glue gun. Plus it’s therapy for me…my mind can completely check out from whatever stresses/nuisances the day/week/month has brought to me and just create. It brings joy to my soul. New on the blog is a wreath I made for fall, and of course a recipe! It was so much fun!! Aside from the blistering burns on my fingers (worth it though!). I thought it would be fun to mix things up a bit here and do a recipe PLUS share with you my little gem I made (ok, Joe strongly encouraged me to share my creation because he said it was “stunning” and he and our kids are my biggest supporters of all things life/blog-related, and they loved it). He insisted it needed to be featured. And who says The Thankful Table has to only feature recipes? Not this girl. I’m the boss of this blog, so I got bossy and made the executive decision, along with the strong urging of Joe, to share my fall wreath. I hope you enjoy this post (and you will probably be seeing more of my little crafts in the future!)!

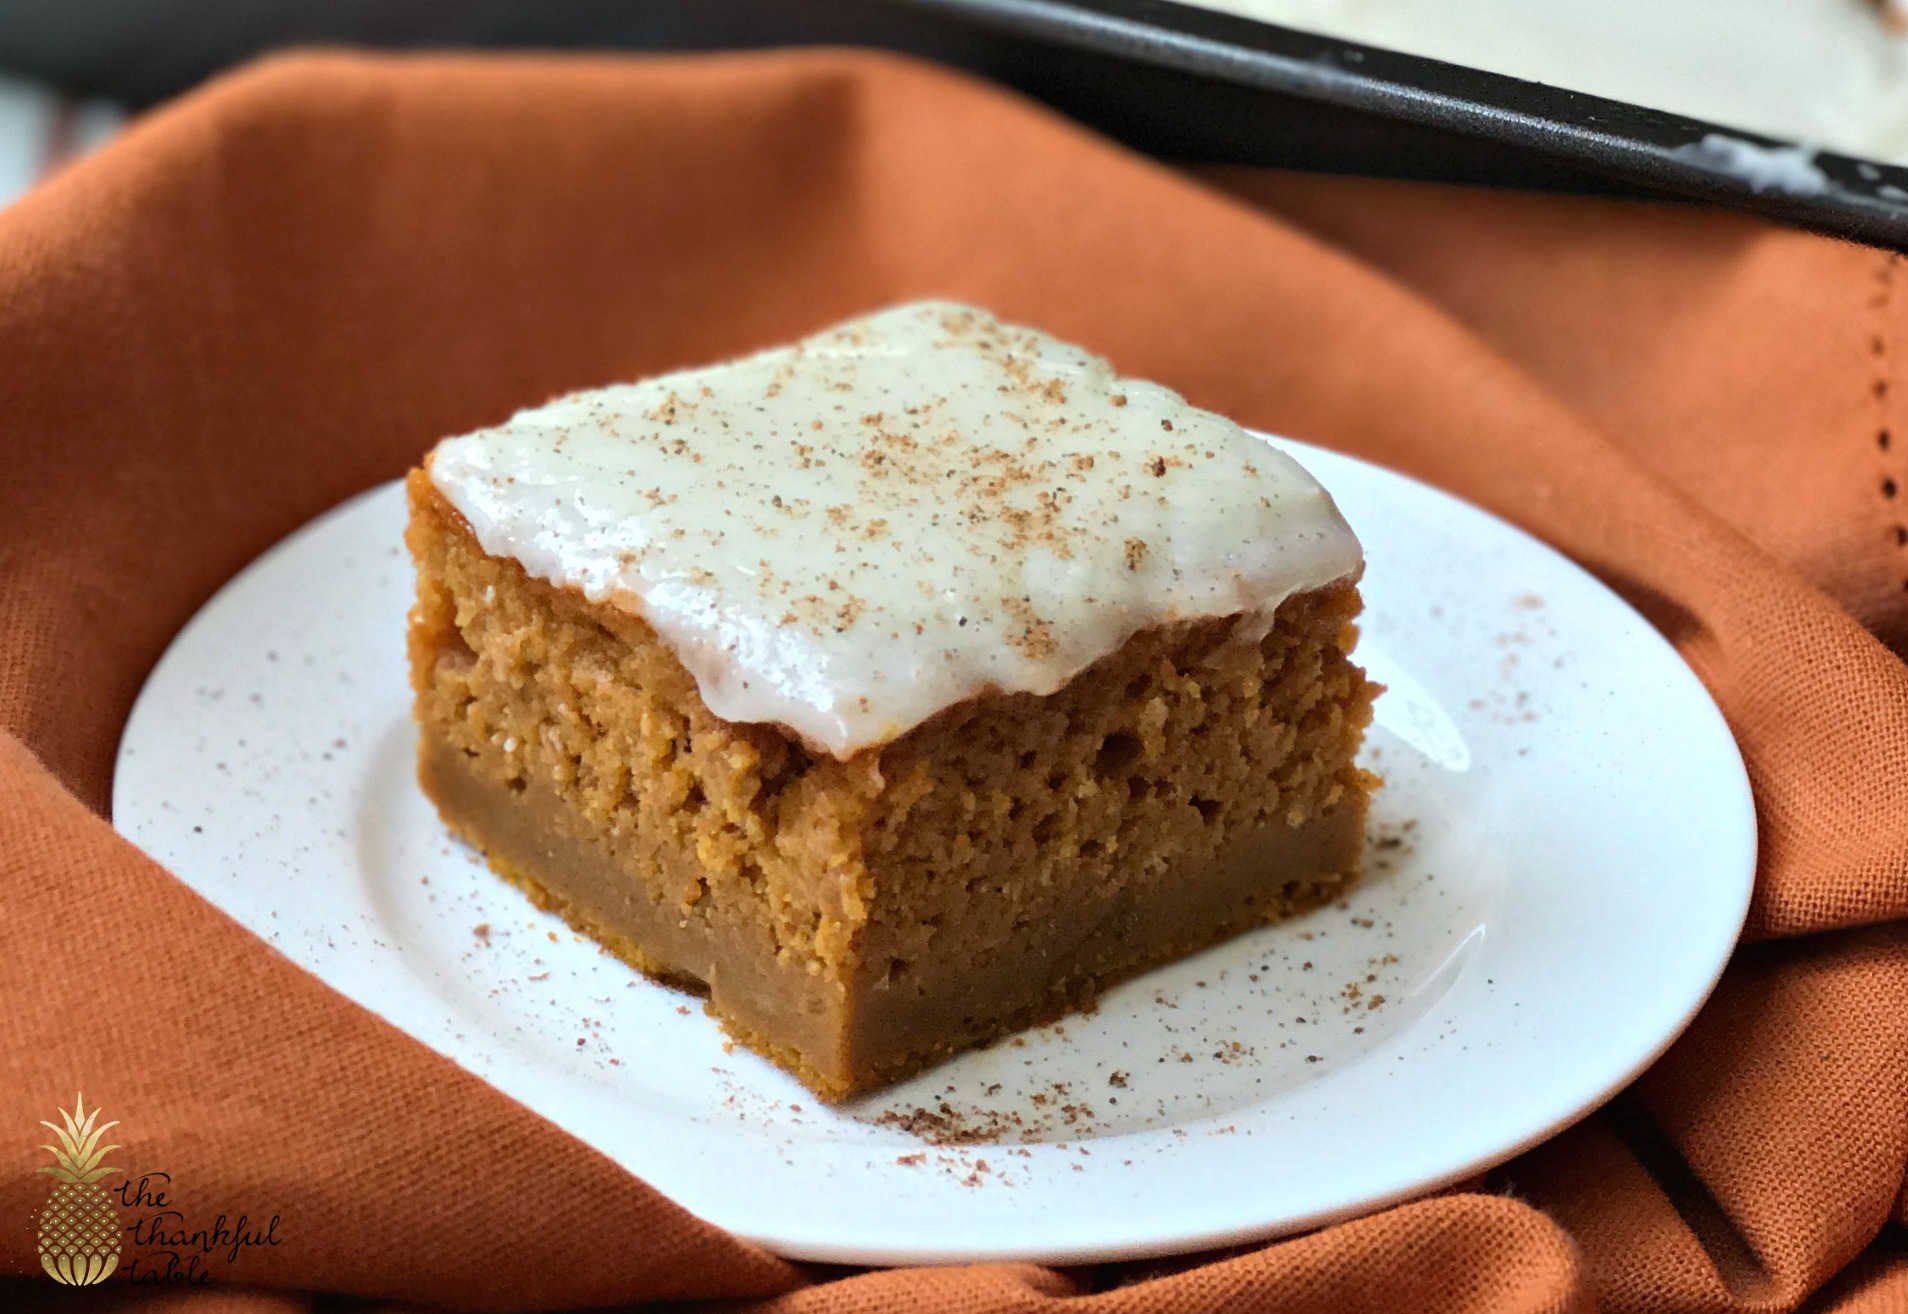
I like to bake, but I really love to bake with pumpkin. There are just so many delectable little morsels you can make with it. These Pumpkin Pie Bars are so yummy. They taste pretty much like the real deal, but in bar form. It’s pumpkin-y, cinnamon-y (are those words? I say yes, yes they are) flavors with that fabulous cream cheese icing just scream fall. My taste buds are thankful that I grace them with such deliciousness and truth be told, it’s the least I can do for them, as they are so good to me. We hope you enjoy these bars as much as we do (and I hope this weather cools down!)! Happy baking!


Sláinte!
Adapted from Thirty Handmade Days


I would love to hear from you!